It almost fits. We just need a few more inches of clearance.
We used a floor jack to lift the rear bumper a couple of inches and the motor is positioned snugly into its new home.
The mount on the nose of the transmission will remain stock, but the engine mounts will not work for the electric motor. We will re-use the mounting holes in the frame of the Doka, but we need to fabricate a new steel structure.
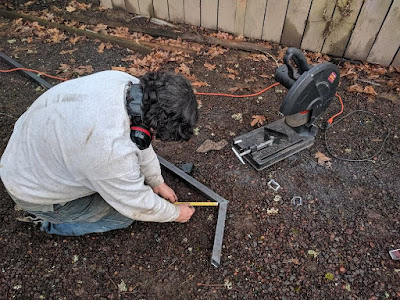
Here we are laying out the miter angles for a few cuts.
And we arrive at this shape, a cradle of sorts, to attach to the bottom of the electric motor. The goals of the design were to use a pair of Volkswagen motor mounts to minimize drive train noise and shock from transferring to the frame, and to maintain as much ground clearance as possible.
Next we need a pair of ears to stick out from the frame rails, to support the cradle arms from below. To make a proper fit with the motor mounts, we need to thin the ends of our 1.5" (38 mm) square tube down to 1 inch (25 mm). We used a grinder to section out 0.5" (12.7 mm) of material, squeeze it in the vise, and weld the material back together.
Some day I will remember that welded and freshly ground upon material is quite hot. Here the motor mount arm is enjoying a mild spring day, cooling to a more manageable temperature.
After a bit of grinding, the arm looks quite good, and more importantly, it fits the motor mount isolator.
And here is the competed motor mount assembly, ready to be attached to the vehicle.


No comments:
Post a Comment